The first time I made homemade white sandwich bread, I completely convinced myself I was going to ruin it. I stood at my kitchen counter staring at that little packet of active dry yeast like it was some kind of science experiment I hadn’t studied for. My mom had made bread from scratch every Saturday morning growing up, and I always assumed it was just one of those things she had a special gift for — the kind of thing you couldn’t just decide to learn on a Tuesday afternoon. But here’s the thing: I was so wrong. And that first loaf, golden and impossibly soft, changed the way I think about what’s possible in my own kitchen.
- 3 cups (360g) all-purpose flour (unbleached preferred; bread flour also works)
- 2 1/4 teaspoons (1 packet) active dry yeast
- 1 teaspoon salt
- 1 tablespoon granulated sugar
- 2 tablespoons unsalted butter, softened
- 3/4 cup warm whole milk (about 110°F)
- 1/4 cup warm water (about 110°F)
- Proof the yeast: In a small bowl or measuring cup, combine the warm water, warm milk, and sugar. Sprinkle the yeast over the top and give it a gentle stir. Let it sit for 5 to 10 minutes until foamy and fragrant. If it doesn’t foam, your yeast may be expired or the liquid was too hot — start over with fresh yeast.
- Mix the dough: In a large bowl, whisk together the flour and salt. Make a well in the center and pour in the yeast mixture and the softened butter. Stir with a wooden spoon until a shaggy dough forms.
- Knead the dough: Turn the dough out onto a lightly floured surface and knead for 8 to 10 minutes until smooth, elastic, and just slightly tacky — not sticky. To test readiness, poke it with your finger; it should spring back slowly. If using a stand mixer with a dough hook, knead on medium speed for 6 to 7 minutes.
- First rise: Shape the dough into a ball and place it in a lightly oiled bowl, turning once to coat all sides. Cover with a clean kitchen towel or plastic wrap and let it rise in a warm spot for 1 to 1.5 hours, until doubled in size. Placing it in the oven with just the oven light on works perfectly.
- Shape the loaf: Once doubled, punch the dough down gently to release the gas. Turn it out onto a lightly floured surface and flatten into a rough rectangle about the width of your loaf pan. Roll it up tightly from one short end, pinching the seam closed, and place it seam-side down in a greased 9×5 inch loaf pan.
- Second rise: Cover the pan loosely and let the dough rise again for 45 minutes to 1 hour, until it crowns about an inch above the rim of the pan.
- Bake: Preheat your oven to 375°F. Bake the loaf for 28 to 32 minutes, until the top is deep golden brown and the loaf sounds hollow when you tap the bottom. An instant-read thermometer inserted into the center should read between 190°F and 200°F.
- Cool: Remove the loaf from the pan and let it cool on a wire rack for at least 30 minutes before slicing. Cutting into a hot loaf will compress the crumb and make it gummy — patience pays off here.
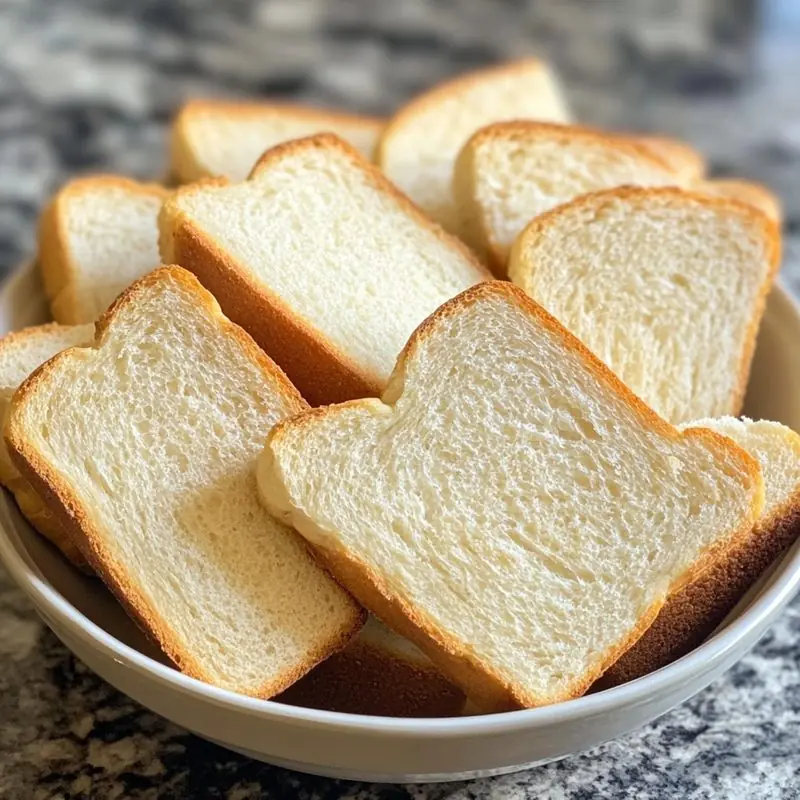
There’s something deeply satisfying about pulling a loaf of homemade bread out of the oven. The crust is just barely golden, the top is perfectly domed, and when you slice into it — oh my goodness — the steam rises and you get that warm, yeasty, slightly buttery smell that absolutely no candle has ever managed to replicate. My kids come running from two rooms away. My husband hovers near the cutting board. It’s the kind of recipe that makes your whole house feel like a home, and honestly? It’s become one of my most-made recipes of the past three years.
This Classic Homemade White Sandwich Bread is the recipe I wish someone had handed me years ago. It uses simple pantry staples, requires no stand mixer if you don’t have one, and produces a loaf that’s genuinely better than anything you’ll find at the grocery store. If you’ve been curious about homemade bread recipes with yeast but felt intimidated by the process, this is your starting point. I promise I’ll walk you through every single step.
Why You’ll Love This Recipe
- Incredibly soft and fluffy: The crumb on this bread is tender and pillowy — perfect for sandwiches, toast, or just eating warm with a pat of butter.
- Made with simple ingredients: You probably already have everything you need in your pantry. Flour, yeast, salt, sugar, butter, milk, and water. That’s it.
- No fancy equipment required: A stand mixer makes this easier, but your hands work just as well. This is real, from-scratch bread that any home cook can make.
- Far better than store-bought: No preservatives, no weird additives — just real, honest bread that tastes like it came from a proper bakery.
- Freezer-friendly: This loaf freezes beautifully, so you can make two at once and have homemade bread on hand all week long without any extra effort.
What You’ll Need
One of the things I love most about this homemade white sandwich bread is that the ingredient list is refreshingly short. Nothing exotic, nothing that requires a special trip to a specialty store. Here’s everything you’ll need, along with a few notes to help you get the best result possible.
- 3 cups (360g) all-purpose flour — I use unbleached all-purpose flour, but bread flour works too and gives you a slightly chewier crumb. Either one is great.
- 2 1/4 teaspoons (1 packet) active dry yeast — This is the heart of the whole recipe. Make sure your yeast isn’t expired — old yeast is the number one reason a loaf of bread doesn’t rise properly. When in doubt, buy a fresh packet.
- 1 teaspoon salt — Don’t skip this. Salt controls fermentation and makes the bread taste like actual bread, not cardboard.
- 1 tablespoon granulated sugar — This feeds the yeast and helps the bread brown beautifully in the oven.
- 2 tablespoons unsalted butter, softened — Butter adds richness and helps keep the crumb soft for days. You can substitute with neutral oil in a pinch.
- 3/4 cup warm whole milk — Milk makes the bread richer and softer than water alone. Aim for about 110°F — warm enough to activate the yeast but not so hot that it kills it.
- 1/4 cup warm water — Same temperature as the milk. This helps the dough come together without being too tight.
A quick tip on the yeast: if you’re using instant yeast instead of active dry, you can skip the proofing step and add it directly to your dry ingredients. The timing will be nearly identical — instant yeast just doesn’t need that initial warm bath to wake up.
How to Make Classic Homemade White Sandwich Bread
I want to walk you through this step by step, because making homemade bread with yeast is mostly about understanding what’s happening at each stage. Once you get it, you’ll never feel nervous about it again.
- Proof the yeast. In a small bowl or measuring cup, combine the warm water, warm milk, and sugar. Sprinkle the yeast over the top and give it a gentle stir. Let it sit for 5 to 10 minutes until it’s foamy and fragrant. If it doesn’t foam, your yeast may be expired or your liquid was too hot — either way, start over with fresh yeast. Don’t skip this step. It’s your guarantee that the bread will rise.
- Mix the dough. In a large bowl, whisk together the flour and salt. Make a well in the center and pour in the yeast mixture and the softened butter. Stir with a wooden spoon until a shaggy dough forms, then turn it out onto a lightly floured surface and begin kneading.
- Knead thoroughly. This is the step most beginners rush, and it matters more than almost anything else. Knead the dough for 8 to 10 minutes until it’s smooth, elastic, and just slightly tacky — not sticky. To test if it’s ready, poke it with your finger. It should spring back slowly. If you’re using a stand mixer with a dough hook, knead on medium speed for about 6 to 7 minutes.
- First rise. Shape the dough into a ball and place it in a lightly oiled bowl, turning once to coat all sides. Cover with a clean kitchen towel or plastic wrap and let it rise in a warm spot for 1 to 1.5 hours, until it’s doubled in size. I like to put mine in the oven with just the oven light on — it creates the perfect warm, draft-free environment.
- Shape the loaf. Once the dough has doubled, punch it down gently to release the gas. Turn it out onto a lightly floured surface and flatten it into a rough rectangle about the width of your loaf pan. Roll it up tightly from one short end, pinching the seam closed. Place it seam-side down in a greased 9×5 inch loaf pan.
- Second rise. Cover the pan loosely and let the dough rise again for 45 minutes to 1 hour, until it crowns about an inch above the rim of the pan. This second rise is what gives you that gorgeous, domed top. Don’t rush it.
- Bake. Preheat your oven to 375°F. Bake the loaf for 28 to 32 minutes, until the top is deep golden brown and the loaf sounds hollow when you tap the bottom. If you have an instant-read thermometer, the internal temperature should be between 190°F and 200°F. That’s how you know it’s perfectly baked through.
- Cool before slicing. I know this is the hardest part. But let the bread cool on a wire rack for at least 30 minutes before you slice it. Cutting into a hot loaf compresses the crumb and makes it gummy. Give it just a little patience and the texture will be perfect.
Tips, Variations, and Storage
After making this homemade white sandwich bread more times than I can count, I’ve picked up a few tricks that make a real difference. Here’s everything I’d tell a good friend before they made this for the first time.
Make It Ahead
You can make the dough through the first rise, then punch it down, shape it, and place it in the loaf pan. Cover it tightly with plastic wrap and refrigerate it overnight. The next morning, pull it out, let it come to room temperature and finish the second rise (about 1.5 to 2 hours since it’s coming from the fridge), then bake as directed. This is a game-changer for busy mornings.
Freezing Instructions
This bread freezes beautifully. Let it cool completely, then wrap it tightly in plastic wrap and place it in a zip-top freezer bag. It’ll keep in the freezer for up to 3 months. To thaw, just leave it on the counter overnight. I almost always make two loaves at once — one for the week, one for the freezer. If you love baking ahead, you’ll also want to check out my easy dinner roll recipe, which freezes just as well and is perfect for holiday tables.
Flavor Variations
Once you’ve mastered the base recipe, it’s really fun to play with flavors. Stir a tablespoon of honey into the dough in place of the sugar for a slightly sweeter loaf. Add a tablespoon of dried rosemary and a drizzle of olive oil for an herby version that’s incredible with soup. You can also brush the top of the loaf with melted butter the moment it comes out of the oven for a softer, richer crust — this is my personal favorite finishing touch and the one my kids always ask for.
Troubleshooting
If your bread didn’t rise: check your yeast. This is almost always the culprit. Also make sure your liquids weren’t too hot — anything above 115°F can kill yeast. If your bread is dense: it may have been under-kneaded, or the second rise was cut short. Give the dough the full time it needs both times. If the crust is too dark before the center is done: tent the loaf loosely with aluminum foil halfway through baking. This slows the browning without stopping the baking. And if you love cozy, from-scratch baking projects like this one, my homemade cinnamon swirl bread uses the exact same base dough with a gorgeous buttery cinnamon filling swirled through the center.
Storage
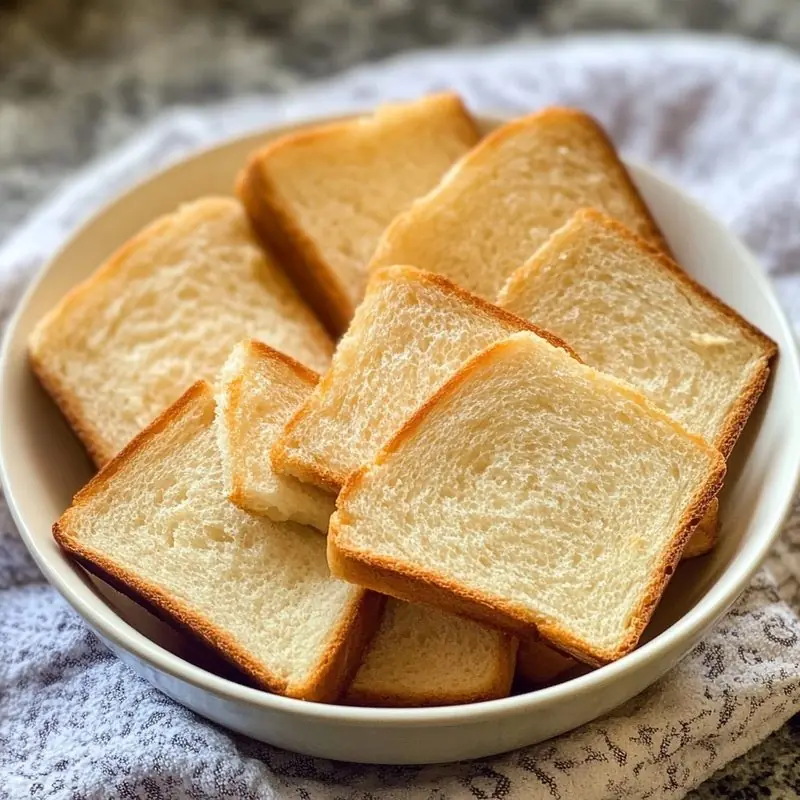
Store the cooled loaf wrapped in plastic wrap or in a zip-top bag at room temperature for up to 4 days. Do not refrigerate it — the fridge actually speeds up the staling process. If you want it to last longer, the freezer is your best friend.
Serving Ideas
This bread makes the most perfect classic BLT you’ve ever had. It’s also incredible sliced thick, toasted until golden, and spread with really good salted butter and a drizzle of honey. My absolute favorite way to use the slightly older slices is in French toast — the texture soaks up the egg custard perfectly without falling apart. For a cozy weeknight dinner pairing, this bread is absolutely perfect alongside a big pot of creamy tomato basil soup, where you can dunk thick slices into the bowl like you mean it. And if you’re hosting a brunch, thick-sliced homemade bread makes the best baked French toast casserole you’ve ever tasted — far better than anything made with store-bought sandwich bread.
Frequently Asked Questions About Classic Homemade White Sandwich Bread
Can I use instant yeast instead of active dry yeast?
Yes, absolutely! Instant yeast and active dry yeast are interchangeable in most bread recipes with just a small adjustment. If you use instant yeast, you can skip the proofing step entirely — just mix it directly into your dry ingredients. The rise times may be slightly shorter since instant yeast is more potent, so keep an eye on your dough rather than watching the clock.
Why didn’t my bread rise properly?
The most common culprits are expired yeast, liquid that was too hot (above 115°F kills yeast), or a dough that was placed in a spot that was too cold to rise. Always proof your yeast first in warm liquid — if it doesn’t foam up in 10 minutes, don’t proceed. Start fresh with a new packet. Also, be patient with the rise times, especially in cooler kitchens — dough rises more slowly in cold environments.
Do I need a stand mixer to make this bread?
Not at all! I made this bread entirely by hand for the first two years before I got a stand mixer, and it came out beautifully every single time. Kneading by hand takes about 8 to 10 minutes of good arm work, and honestly it’s a really therapeutic process once you get the hang of it. A stand mixer with a dough hook just makes things faster and less messy — it’s a convenience, not a requirement.
Can I make this recipe with whole wheat flour?
You can swap up to half of the all-purpose flour for whole wheat flour and still get a great result. Going 100% whole wheat will make the loaf denser and heavier since whole wheat flour has less gluten structure. If you want to go fully whole wheat, add an extra tablespoon of butter or oil and give the dough a bit more time to rise — whole wheat dough is slower. A half-and-half blend gives you a lovely nutty flavor with a still-soft crumb.
How do I know when the bread is fully baked?
The best way is to use an instant-read thermometer inserted into the center of the loaf — you’re looking for a temperature between 190°F and 200°F. If you don’t have a thermometer, tap the bottom of the loaf — it should sound hollow, like knocking on a door. The crust should be a deep, even golden brown all over. If the top is browning too fast but the inside needs more time, tent it with foil and keep baking.
Make It This Weekend
There’s a reason homemade bread recipes with yeast have been passed down through generations — because there is truly nothing like the real thing. This Classic Homemade White Sandwich Bread is soft, golden, and so much better than anything wrapped in plastic at the store. It fills your kitchen with a smell that makes everyone wander in from wherever they are in the house, and the first warm slice spread with butter is one of those simple pleasures that never gets old. Whether you’re brand new to yeast baking or you’ve been at it for years, this is the loaf that belongs in your regular rotation. You can also find more of my go-to baking recipes over in my easy homemade bread recipes collection, where I share all my favorites for every skill level.
Give this recipe a try and let me know how it goes! I love hearing from you in the comments below — especially from first-timers who are just getting started with baking bread from scratch. Save this pin, bookmark this page, and get ready to impress yourself. I genuinely can’t wait for you to pull this beauty out of the oven.